Beyond the Open Flame: The Real Secret to Delicious Campfire Cuisine

Is a big, crackling campfire always best for cooking?
Many folks, when they think of camp cooking, picture a roaring bonfire—flames licking skyward, sparks dancing in the night. It's a romantic image, no doubt, and absolutely perfect for storytelling, guitar tunes, and s'mores. But if your goal is a perfectly cooked steak, a pot of simmering chili, or flaky foil-packet fish, that fiery inferno is actually working against you. This guide isn’t about building the biggest blaze; it's about understanding the subtle, consistent power of campfire coals and how to manage them for genuinely delicious outdoor meals. Getting this right means less burnt food, more even cooking, and a far more enjoyable experience at the campsite. The short answer, perhaps surprisingly, is a resounding no. While a large fire is wonderful for warmth and ambiance, its intense, fluctuating heat makes it incredibly difficult to cook with precision. Open flames tend to scorch food quickly on the outside while leaving the inside undercooked. They also deposit soot heavily, which isn’t ideal for your cookware or your meal’s flavor profile. Think of it this way: you wouldn't try to bake a cake in an oven set to 800 degrees Fahrenheit, cycling wildly between that and 200 degrees, right? The same principle applies to cooking over a fire. What you’re truly after for most cooking—frying, grilling, simmering, baking—is steady, even heat. And that comes from embers and coals, not dancing flames. Coals provide a radiant, stable heat source that's far more predictable and manageable, allowing you to actually control the cooking process rather than just reacting to the fire’s whims. It’s the difference between chaotic energy and focused power, allowing for culinary success.
What’s the secret to consistent campfire cooking heat?
The real magic of campfire cooking lies in cultivating a deep, glowing bed of coals. This isn't just a byproduct of a fire; it’s the main event for culinary success. Creating a good coal bed starts well before you even think about putting food on. You’ll want to build a fire, let it burn down, and then manage the resulting embers.
First, consider your wood. Hardwoods like oak, hickory, maple, and fruit woods (apple, cherry) are generally preferred for cooking. They burn longer, produce more heat-efficient coals, and impart a subtle, pleasant smoky flavor without the acrid bite some softwoods can produce. Softwoods—pine, fir, spruce—burn hot and fast, producing quick flames but fleeting coals. They're great for getting a fire started or for a quick burst of warmth, but not for sustained cooking. For the best culinary results, always choose well-seasoned, dry wood. Wet or green wood will spend most of its energy trying to dry out, producing excessive smoke and very few quality coals.
To build your coal bed effectively, follow these steps:
- Start a smaller, hotter fire: Begin with a teepee or log cabin style fire using kindling and progressively larger pieces of hardwood. Don't build a massive bonfire; aim for a contained, efficient burn. Your initial fire is primarily for generating the coals you’ll cook with.
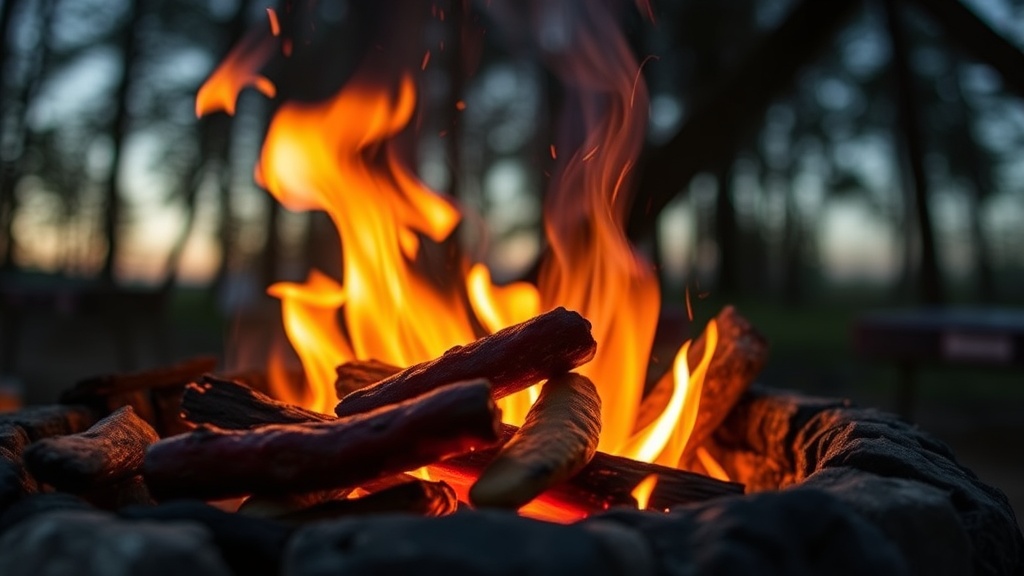
- Let it burn down: Allow your wood to burn until it collapses into glowing embers. This can take anywhere from 45 minutes to an hour and a half, depending on the wood and fire size. Patience here is absolutely key—it’s where most beginners rush. Resist the urge to start cooking over big flames. Wait until you have a substantial pile of red, glowing embers.
- Rake and spread: Once you have a good pile of red, glowing coals, use a long stick, shovel, or fire tongs to rake them into an even layer in your designated cooking area. This might be directly under a grill grate, to the side of a fire pit, or even into a separate small pit you’ve dug for Dutch oven cooking. An even spread means even heat distribution.
- Replenish as needed: As your cooking progresses, you'll notice the coals start to grey and lose their heat. Simply add a few more pieces of hardwood to the main fire (away from your cooking zone) and let them burn down to coals, then carefully add those fresh embers to your cooking bed. This continuous cycle ensures you always have the right amount of heat.
Think of your coal bed as a living entity you're tending. It requires gentle attention, not brute force, and offers the most predictable and effective heat for serious camp cooking. This methodical approach separates the burnt offerings from the genuinely delicious, perfectly cooked meals.
How do I control my cooking fire like a pro?
Controlling your cooking fire is less about dousing flames and more about strategic placement and continuous vigilance. Once you have that beautiful bed of coals, you have several sophisticated methods for managing the heat, allowing for precision in your outdoor kitchen:
- The "Two-Zone" Fire: This is a classic for a reason and a cornerstone of effective fire management. Build your main fire in one area of your fire pit, letting the wood burn down to coals. Then, rake a portion of those coals to another, cooler area. You now have a hot zone for searing thin cuts of meat, quick-frying, or getting a good char, and a cooler zone for slower cooking, simmering stews, or simply keeping food warm without burning it. It’s like having a stovetop with multiple burners, offering incredible versatility and preventing overcooking.
- Adjusting Your Cooking Surface: Many camp grills or grates are thoughtfully designed to be adjustable. If yours is, raise it for lower heat, or lower it for more intense heat. Even small adjustments of an inch or two can make a big difference in preventing charring. If you don't have an adjustable grate, consider using sturdy metal bars or even carefully placed, flat rocks to prop up your cooking surface at varying heights. A few inches higher means a significant drop in temperature.
- Spreading or Piling Coals: This is perhaps the most direct way to manipulate heat. For less heat, simply spread your coals out into a thinner layer. The heat dissipates more rapidly over a larger area. For more intense heat, pile them closer together, creating a concentrated thermal mass. This simple manipulation can drastically change the temperature under your pot or pan. For a Dutch oven, you'll often place coals directly on the lid and underneath the pot, distributing them based on what you’re cooking—more on top for baking (to simulate top-down oven heat), more evenly for stewing.
- Wood Choice and Addition: As mentioned earlier, different woods burn differently. Beyond that, strategically adding small pieces of fresh hardwood to your main fire will ensure a continuous supply of coals. It’s a rhythmic dance: burn wood, create coals, move coals to cooking area. Don't throw a huge log on when you're in the middle of cooking unless you want a massive flare-up that will ruin your meal. Instead, add smaller, manageable pieces to your "coal-producing" section of the fire, allowing them to transform into glowing embers before deployment.
- The "Hand Test": This is a time-tested, analog way for any camp cook to gauge heat intensity. Hold your open palm about 4-6 inches above the coals. The amount of time you can comfortably keep your hand there gives you a reliable estimate of the heat:
- 2-4 seconds: Very hot (high heat) – ideal for searing thin cuts of meat quickly, flash-frying, or boiling water in a hurry.
- 5-7 seconds: Medium-hot (medium heat) – good for most grilling, frying, sautéing, and bringing liquids to a simmer.
- 8-10 seconds: Medium (moderate heat) – perfect for slower cooking, gentle simmering, or baking in a Dutch oven.
- 10+ seconds:1. Can I use charcoal briquettes instead of wood coals? Answer: Absolutely! Charcoal briquettes offer an incredibly consistent and predictable heat source, making them fantastic for camp cooking, especially with a Dutch oven or a portable grill. They remove a lot of the variability of wood fires, though you'll miss some of that unique wood smoke flavor. 2. How do I know when my coals are ready for cooking? Answer: Your coals are ready when they have a uniform red or orange glow, often with a fine layer of white ash forming on the surface. There should be very few active flames. The "hand test"—holding your palm over the coals—is also a great practical indicator for gauging specific heat levels. 3. My food keeps getting smoky or tasting burnt. What am I doing wrong? Answer: If your food tastes overly smoky or burnt, it's likely you're cooking over too many active flames or coals that are too hot and close to your food. Flames cause soot and intense, uneven heat. Try letting your fire burn down to a gentler coal bed, increase the distance between your food and the heat source, or spread your coals out more to reduce the intensity. Low heat – useful for keeping food warm, very gentle cooking, or proofing dough (if you're feeling adventurous).
- Wind Management: Wind can be both a blessing and a challenge. A gentle breeze can oxygenate coals and slightly increase heat, which can be useful. However, a strong gust can quickly reduce your precious coals to ash or, worse, blow dangerous sparks around. Always use natural windbreaks—like large rocks, sturdy logs, or even your vehicle (safely, of course, keeping a respectful distance)—to shield your cooking fire. Portable wind screens are also available and can be surprisingly effective at creating a stable cooking environment. Always be mindful of local fire restrictions and safety. Resources like