Building a Better Fire Pit for Your Campsite

You will learn how to select, build, and maintain a safe fire pit for your outdoor cooking and warmth.
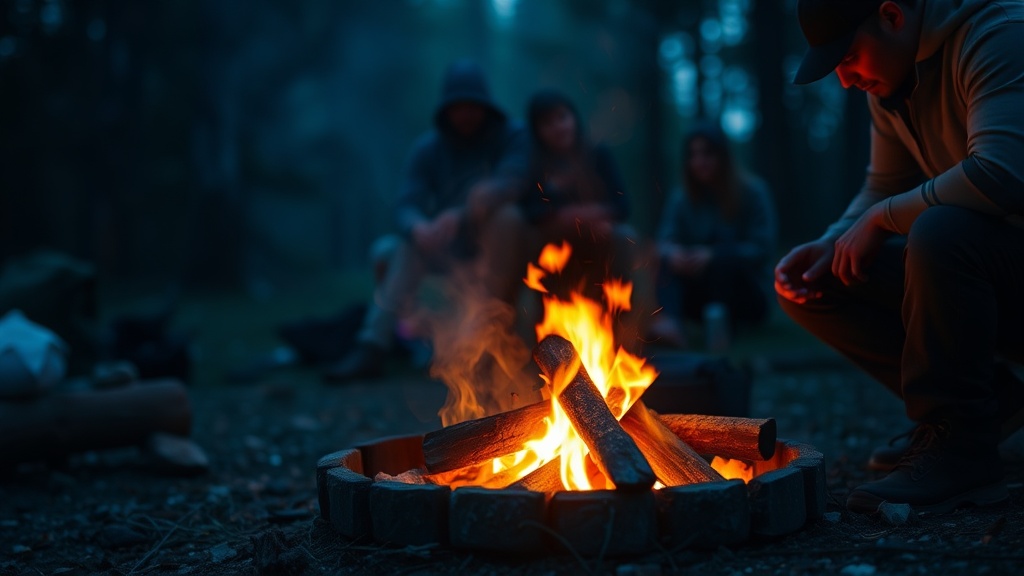
A well-constructed fire pit is more than just a circle of rocks; it's the heartbeat of a campsite. It provides the heat for your coffee, the light for your stories, and a central point for your group to gather. Whether you're staying at a developed campground or a remote backcountry spot, having a reliable, controlled area for your fire makes your time outdoors much safer and more enjoyable. This guide focuses on the practicalities of setting up a temporary or semi-permanent fire structure without leaving a lasting scar on the environment.
What is the best way to build a temporary fire pit?
If you're camping in a way that requires a more substantial setup than a simple ring of stones, you'll want to focus on stability and heat containment. A great method is the "stone ring" technique, but you have to be careful about the types of rocks you use. Never grab rocks from a riverbed—those are often water-saturated and can explode when heated. Instead, look for dry, stable stones.
First, clear a circle about three to four feet in diameter. Strip away all organic matter—leaves, pine needles, or dry grass—until you hit mineral soil or sand. This creates a buffer zone. Once the ground is clear, lay down a layer of sand or gravel (about two inches thick) to act as a heat sink. This helps distribute the heat and prevents the ground from scorching. Surround this layer with your stones, stacking them in a way that they lean slightly inward for stability. This ensures that if a stone shifts, it falls toward the center of the fire rather than outward toward your gear or tent.
How do I keep my fire pit from damaging the ground?
One of the biggest mistakes travelers make is setting up a fire directly on top of grass or thin topsoil. Not only does this kill the vegetation, but it also creates a permanent, ugly scar on the land. To prevent this, use a fire pan or a metal fire ring if you're at a site that allows it. If you're in a more rugged environment, building a raised fire pit using a metal grate or a portable tripod can keep the intense heat away from the earth.
According to the National Park Service, leaving a site better than you found it is a fundamental rule of outdoor ethics. By using a heat shield or a dedicated metal ring, you ensure that the ground underneath stays relatively cool and the soil remains intact. This isn't just about being a good camper; it's about protecting the very places we love to visit. If you're using a heavy-duty metal ring, make sure it's placed on a bed of sand or a dirt patch to avoid melting any underlying materials or causing uneven settling.
Can I use certain materials to make my fire pit more durable?
If you're looking for a way to make your setup more reliable, consider the materials you're using for the foundation. While rocks are the standard, using a heavy-duty steel fire ring can provide much more consistency. Metal rings are designed to handle high temperatures without the risk of cracking or exploding like certain types of stone.
| Material Type | Best Use Case | Pros | Cons |
|---|---|---|---|
| River Stones | Avoid | Looks natural | Risk of explosion |
| Dry Field Stones | Temporary setups | Easily found | Can be unstable |
| Steel Fire Ring | Long-term/Developed sites | Very safe/Stable | Requires carrying/storage |
| Sand/Gravel | Base layer | Protects ground | Adds weight to gear |
Using a sand base is a smart move for those who frequent developed campgrounds. It acts as a buffer, soaking up the heat and preventing the heavy stones from sinking too deeply into the soft earth. If you're road tripping, a small bag of sand in your trunk can be a lifesaver for quick, clean fire pit setups. It's a small addition to your gear that pays off in the long run.
How do I safely extinguish a fire pit after use?
Extinguishing your fire is the most important part of the entire process. A fire isn't truly "out" just because you don't see flames. You need to ensure there are no hidden embers lurking under the ash. The "drown, stir, and feel" method is the gold standard. First, drown the embers with water—not too much at once, or you'll create a massive cloud of steam that can sting your eyes. Stir the ashes with a stick or a small shovel to ensure the water reaches the very bottom of the pile.
Once you've stirred it, use the back of your hand (carefully!) to feel the temperature of the ground near the edge of the ring. If it's still hot, it's not done. You should repeat the drowning and stirring process until the coals are cool to the touch. As noted by the US Forest Service, preventing wildfires starts with a complete extinction of your campfires. This practice ensures that your campsite remains safe for the next person and that you don't leave any lingering heat that could ignite nearby vegetation during a windy night.
Keep your fire pit organized by keeping your fuel (wood) and your tools (tongs, poker, or shovel) in separate, designated areas. This prevents your cooking gear from getting soot on it and keeps your workspace clean. A tidy fire pit is a safe fire pit. Whether you're using a small portable stove for your morning coffee or a large stone ring for a big dinner, respect the heat and the ground beneath it. That's the secret to a successful night under the stars.