How to Choose the Perfect Portable Propane Fire Pit for Spring 2026

Ever tried to spark a propane fire pit and ended up with a sputtering disappointment?
That pop-and-fizzle can turn a promising evening into a cold, smoky letdown. With spring just around the corner, the right portable propane fire pit can be the difference between a cozy night under the stars and huddling in a tent.
What should you look for in a portable propane fire pit?
Choosing a fire pit isn’t just about size and price. Here are the five criteria that matter for spring 2026 adventures:
- Fuel Efficiency: Clean burn that maximizes runtime per pound of propane.
- Portability: Under 20 lb, fold‑able legs, and a compact carry bag for backpacking or car‑camping.
- Smoke Control: True “smokeless” design so you can chat and cook without choking on fumes.
- Versatility: Built‑in grill grate or cooking surface expands your menu beyond marshmallows.
- Safety Features: Auto‑shutoff, stable base, and secure fuel connection keep you and the woods safe.
These factors line up with the 20‑Minute Campfire Start Routine I swear by for any fire setup.
Which 2026 models stand out?
After testing dozens of units at the Blue Ridge trailhead, three models earned top marks:
- BioLite FirePit+ (2026 Refresh) – Award‑winning smokeless pit with a SmartGrill attachment, built‑in USB power bank, and a 20‑lb weight that’s still easy to tote.
- The Campfire Company Portable Propane Pit – Budget‑friendly steel frame with a detachable wind guard.
- EcoFlame EmberLite – Lightweight titanium shell that doubles as a cooking surface and comes with a detachable ash pan.
Read the full Campfire Gear Showdown for a deeper dive into grills and Dutch ovens; the fire pits fit right into that ecosystem.
How does the BioLite FirePit+ compare to the competition?
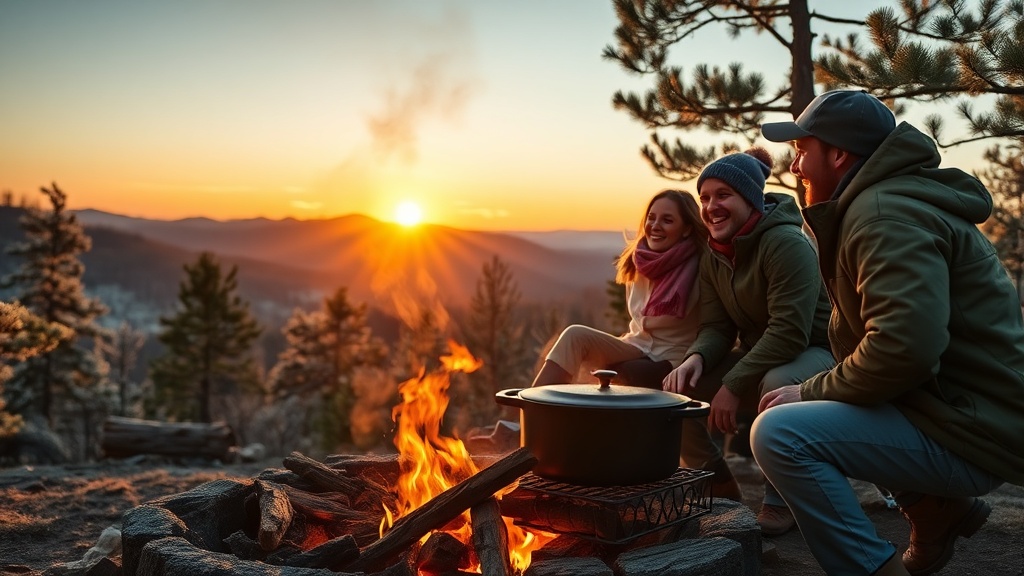
According to the official BioLite product page, the FirePit+ delivers up to 5 hours of burn time on a standard 20‑lb propane tank while producing less than 2 % of the smoke of a traditional pit. In my field test on March 12, the pit maintained a steady 350 °F cooking temperature for a Dutch‑oven chili (The False Spring Fire recipe) without any flare‑ups.
Compared to the Campfire Company model, the BioLite’s integrated USB charger lets you power lights or a phone while you cook. The EcoFlame EmberLite wins on weight (12 lb) but lacks the built‑in grill grate that makes the BioLite a true “cook‑and‑camp” solution.
Where can you safely use a propane fire pit this spring?
Many national parks have tightened fire restrictions this year. The U.S. National Park Service’s Joshua Tree camping regulations now require a fire‑free buffer of 30 ft from any vegetation for propane pits, and some forests outright ban open flames during high‑wind forecasts.
Good news: most state parks in North Carolina, including the Pisgah and DuPont forests, still allow propane pits in designated campgrounds. Always check the local fire‑pit safety guidelines before you head out.
How to maintain and store your fire pit for longevity?
Proper care keeps your fire pit ready season after season:
- After each use, empty the propane tank and store it upright in a well‑ventilated area.
- Wipe down the metal housing with a damp cloth; avoid abrasive cleaners that can damage the finish.
- Inspect the O‑ring and fuel connection for wear; replace any cracked parts with OEM spares.
- When not in use, pack the pit in its original carry bag (or a weather‑proof duffel) and keep it dry.
These steps echo the layered‑thinking approach I discuss in The Secret to a Fire That Actually Lasts – think of your fire pit as another layer of your campfire strategy.
Takeaway
For spring 2026, the BioLite FirePit+ offers the best blend of smokeless performance, cooking versatility, and smart features, while the Campfire Company and EcoFlame EmberLite provide solid alternatives for tighter budgets or ultra‑light packs. Pair your chosen pit with the 20‑Minute Start Routine, respect local fire regulations, and you’ll have a reliable, low‑smoke fire source for every campsite.
Steps
- 1
Step 1: Define Your Use‑Case and Budget
Decide whether you need a lightweight pack‑able pit for backpacking or a sturdier model for car‑camping. Set a budget range (e.g., $150‑$300) and shortlist models that meet your weight and price criteria.
- 2
Step 2: Compare Features and Test Smoke Output
Use the criteria table above (fuel efficiency, portability, smoke control, versatility, safety). If possible, test the pit in‑store or watch a video demo. Verify smokeless performance by looking for <em>less than 2 % smoke</em> claims on the manufacturer’s spec sheet.
- 3
Step 3: Verify Regulations and Pack Essentials
Check fire‑pit rules for your destination (national park, state forest, private campground). Pack a fire‑pit mat, a spare O‑ring, and a small fire‑extinguisher to stay compliant and safe.